Harvest
Learn when and how to harvest cannabis for peak potency and flavour.
What Is Cannabis Harvest and Why Timing Matters
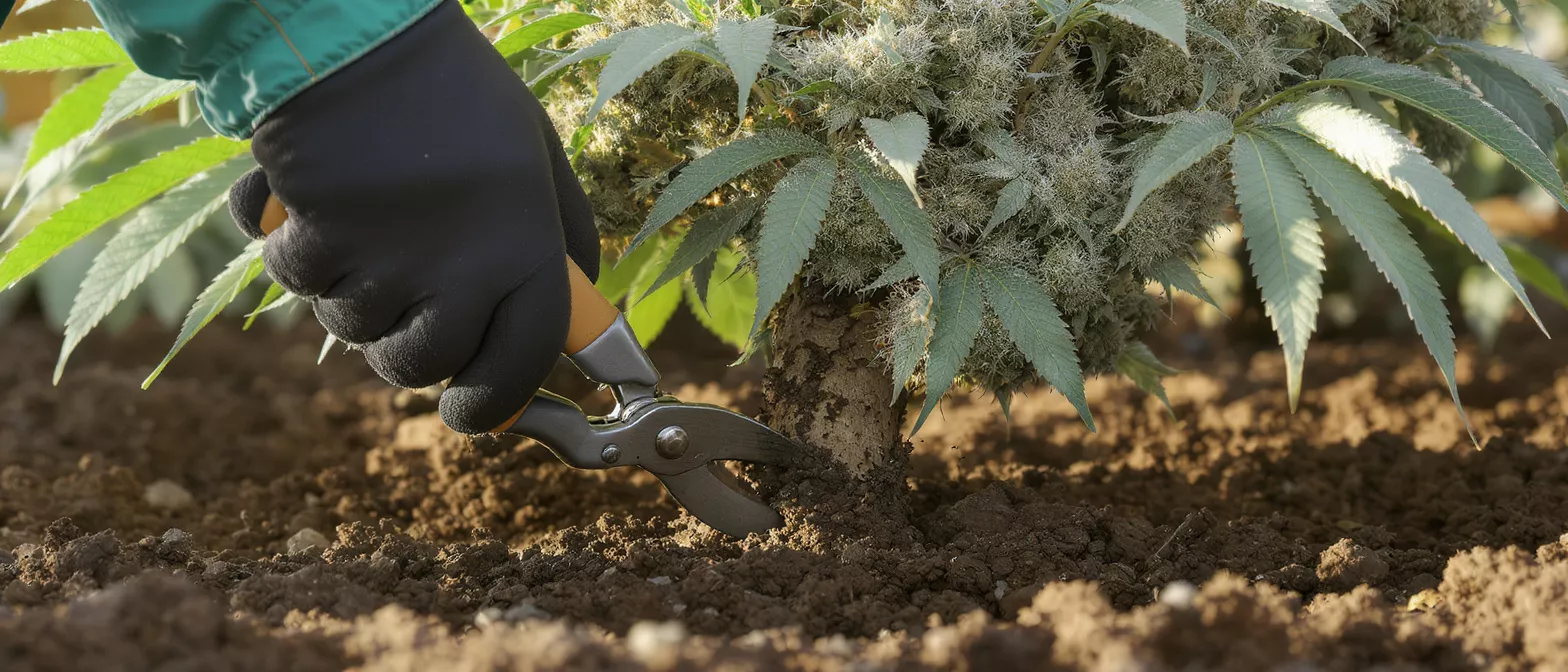
The cannabis harvest is the moment every grower works toward — the point where weeks of light schedules, feeding, and patience finally pay off in dense, resinous flower. But harvest is not a single action so much as a window, and that window is narrower than most beginners expect. Cut too early and you sacrifice potency and weight; cut too late and the experience shifts from energetic to heavily sedative as cannabinoids degrade. Understanding what a proper cannabis harvest involves is the difference between mediocre, harsh smoke and something genuinely dank.
Harvest timing influences nearly every quality you care about: aroma, flavor, cannabinoid ratio, and the overall character of the high. As the plant matures, THC content rises, peaks, and then begins converting to CBN, a more sedating compound. Research published by Frontiers has explored how cannabinoid concentrations shift across the flowering period, underscoring why growers obsess over picking the exact right day.
For anyone new to growing, it helps to think of harvest as the start of post-production rather than the finish line. The plant comes down, but drying, trimming, and curing all follow — and each stage shapes the final product as much as the grow itself. A clean, well-timed harvest sets up everything that comes after, which is why experienced cultivators treat it with the same rigor they bring to vegetative growth.
When to Harvest Cannabis: Reading the Plant
Pistil color is the first signal beginners learn. Early in flower, the hair-like pistils stand white and upright. As the plant ripens, they darken to orange, red, or brown and curl inward. A common rule of thumb is to harvest when roughly 70 to 90 percent of pistils have darkened, but this method alone is imprecise because pistil color responds to environmental stress as well as maturity.
Flowering time estimates give you a calendar anchor. Most indica-leaning strains finish in 8 to 9 weeks of flowering, while many sativa and diesel-type genetics stretch to 10 to 12 weeks or longer. Breeders publish estimated finish times, and those numbers are a useful starting frame — but treat them as a forecast, not a guarantee. Phenotype, climate, and feeding all push the real date around.
The most reliable approach combines multiple signals: pistil maturity, the breeder's flowering estimate, and trichome inspection. When two or three of these line up, you can harvest with confidence. Growers chasing a specific effect — more uplifting versus more couch-locked — adjust within that window rather than treating ripeness as a single fixed point.
How Trichomes Signal the Right Harvest Window
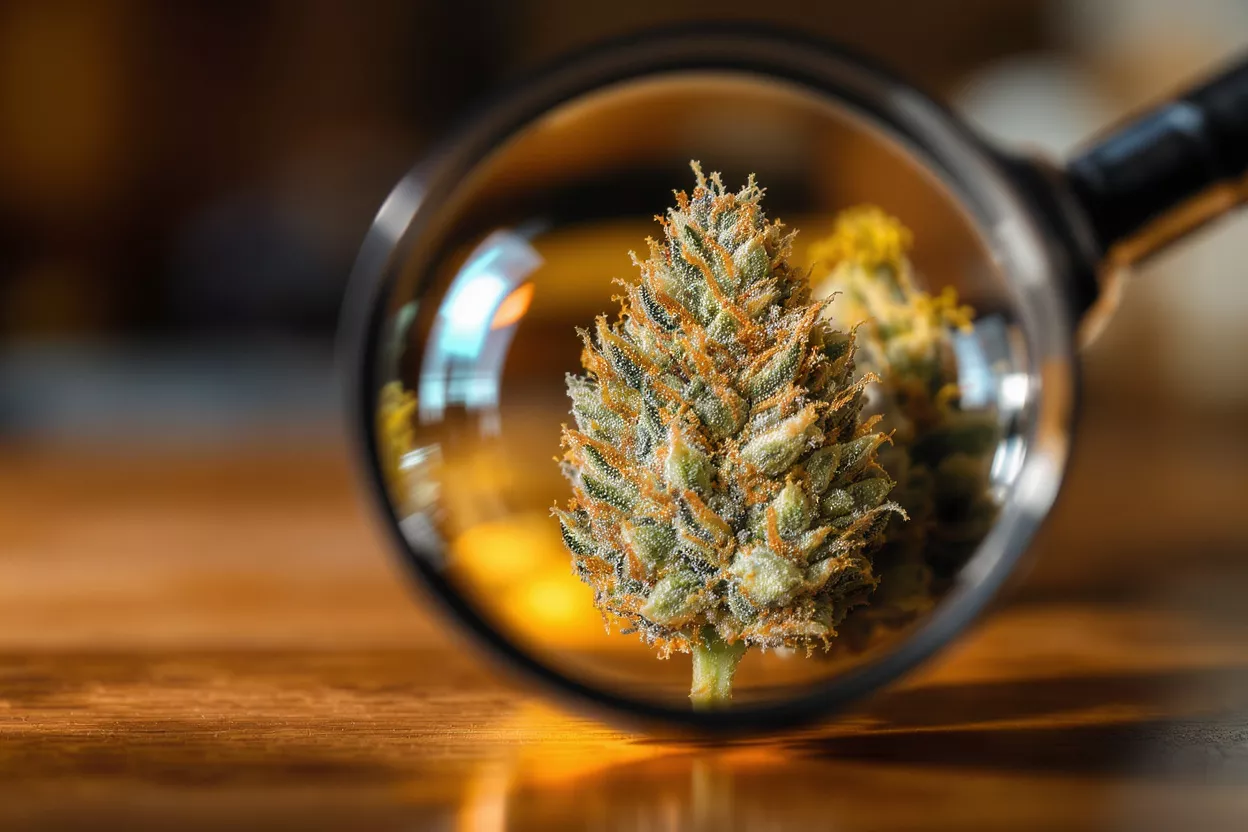
Trichomes are the truest harvest indicator. These tiny resin glands coat the buds and sugar leaves, and they change color as cannabinoids mature. Under a jeweler's loupe or a cheap pocket microscope, you can read them clearly: clear trichomes mean immature, cloudy or milky trichomes signal peak THC, and amber trichomes indicate cannabinoids are converting toward more sedative compounds. A quality handheld trichome microscope makes this read far easier than squinting with the naked eye.
Most growers aim for a mix of cloudy and amber trichomes at harvest. The exact ratio is a matter of preference and shapes the final experience:
- 🔬 Mostly cloudy, little amber: brighter, more cerebral, energetic high — favored for daytime use.
- ⚖️ Balanced cloudy and amber (10–30% amber): the popular middle ground with both head and body effects.
- 🌙 Heavy amber (30%+): deeply relaxing, sedative, ideal for nighttime or sleep.
Inspect trichomes on the buds themselves, not the sugar leaves, since leaf trichomes mature faster and can mislead you into harvesting early. Check several spots across the plant, because tops ripen before lower, shaded bud sites. This patience separates the careful grower from someone chasing a calendar date and ending up with weak, grassy dope.
Harvest Tools and Setup You Actually Need
You do not need a fortune in gear to harvest well, but a few tools make the process faster and cleaner. The right setup protects your trichomes, keeps the workspace sanitary, and prevents the kind of damage that turns premium flower into harsh smoke.
Here is a practical harvest-day checklist that covers most home and small-batch grows:
- ✂️ Sharp trimming scissors: spring-loaded curved blades reduce hand fatigue during long trim sessions.
- 🧤 Nitrile gloves: keep finger oils off the buds and let you scrape collected resin later.
- 🔍 Loupe or pocket microscope: non-negotiable for confirming trichome readiness.
- 🪢 Drying line or rack with directional airflow: even air movement prevents mold without blasting buds dry.
- 🫙 Wide-mouth glass jars: for the cure once buds reach the right moisture.
Beyond the basics, controlling your environment matters as much as the tools themselves. A clean room with stable temperature and humidity, plus gentle, indirect air movement, gives you the foundation for a successful dry. Some growers invest in a digital hygrometer for drying rooms to track conditions precisely rather than guessing — a small upgrade that pays off in consistency.
Wet Trim vs Dry Trim at Harvest
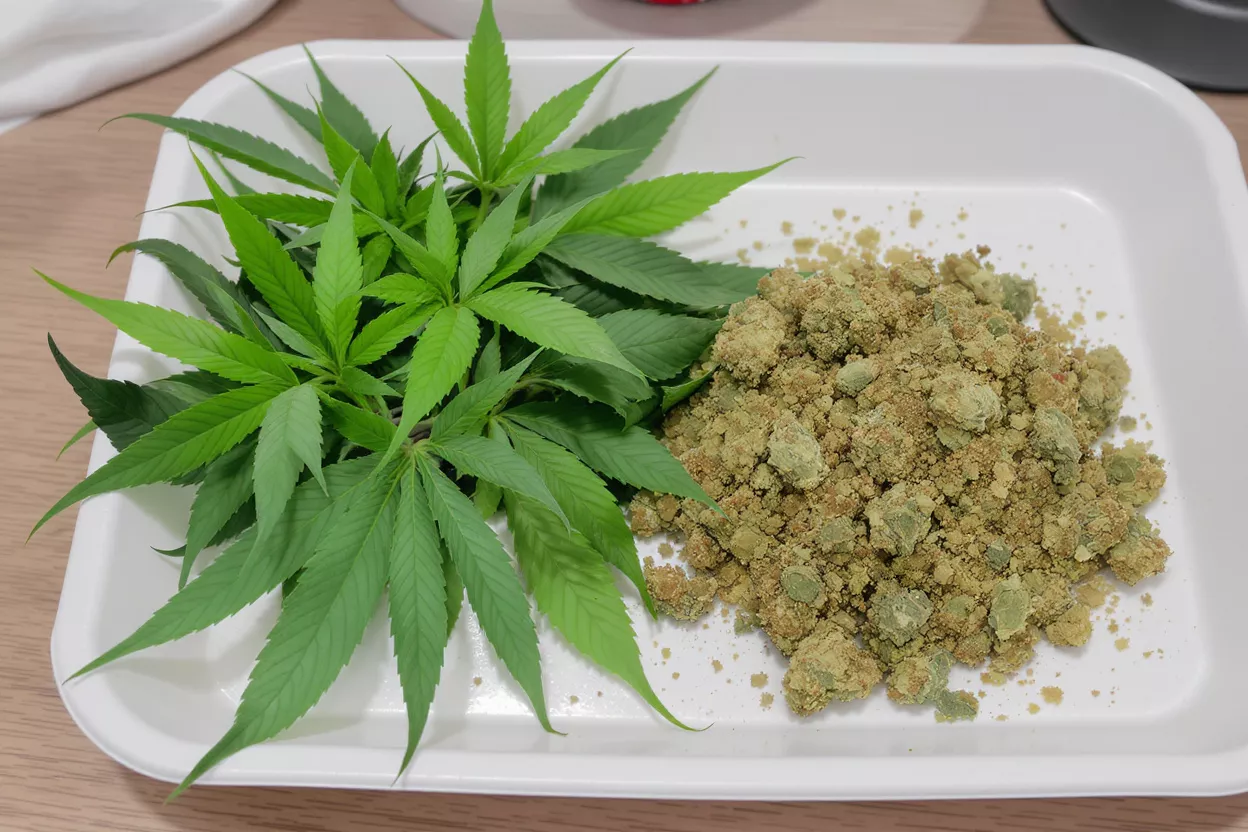
Wet trimming happens immediately after cutting. You remove fan and sugar leaves while the plant is fresh, then hang the manicured buds to dry. Wet trimming is faster, gives a tidy final look, and is often preferred in humid climates because removing leaf material reduces moisture and mold risk during the dry.
Dry trimming flips the order. You hang whole branches with leaves intact, let everything dry for several days to a week, then trim. The retained foliage slows the dry, which can produce a smoother, more aromatic result in arid environments where buds might otherwise dry too quickly. The tradeoff is messier handling and brittle leaves that crumble during the trim.
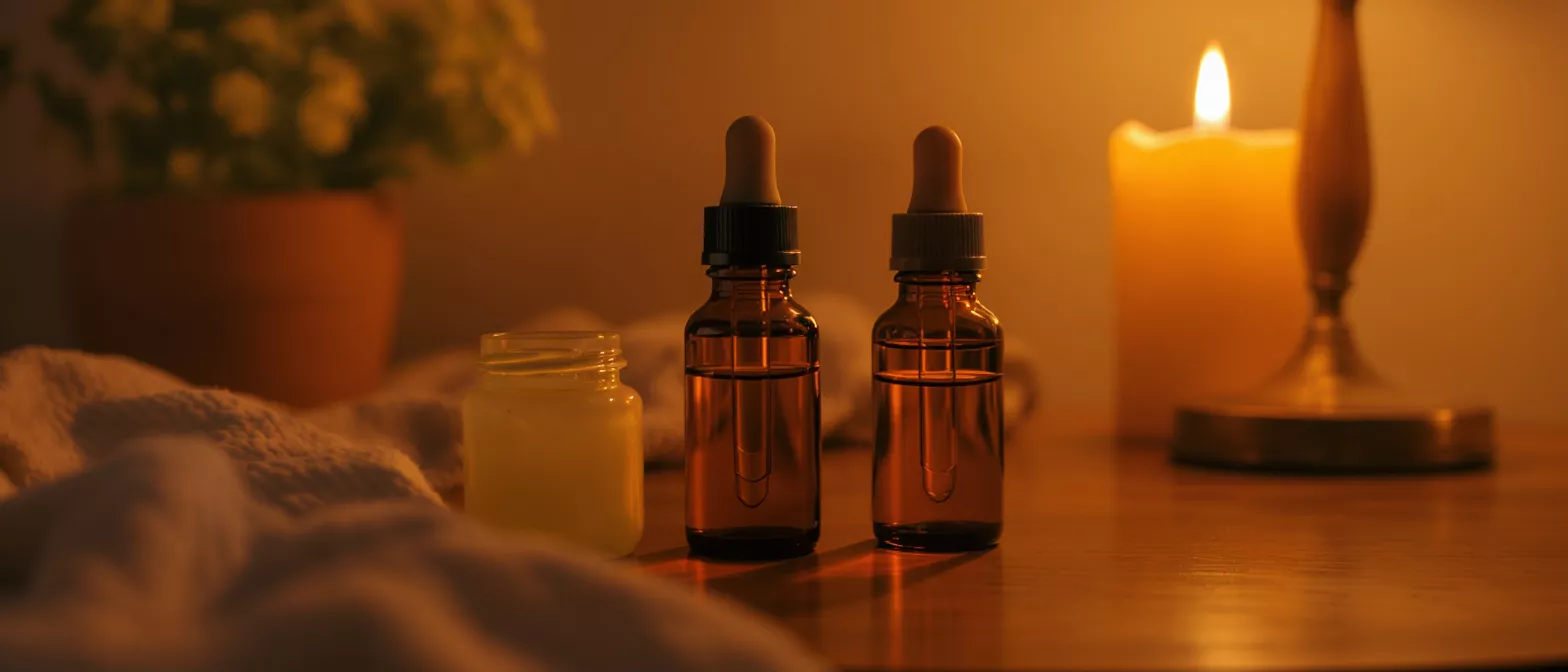
Neither method is universally better — the right choice depends on your climate and goals. As a quick guide: choose wet trimming if your humidity runs high or you want speed and a clean look, and lean toward dry trimming in dry climates where you want to slow moisture loss and preserve terpenes. Either way, save your trim; high-quality sugar leaf is excellent for making an elixir, edibles, or hash.
Drying After Harvest: The Make-or-Break Stage
Slow and steady wins the dry. The goal is to reduce moisture gradually over roughly 7 to 14 days, not to blast buds dry in 48 hours. A target of around 60°F to 70°F and 55 to 60 percent relative humidity strikes a balance that preserves terpenes while discouraging mold. Rushing this stage locks in a hay-like smell and harsh smoke that no cure can fully fix.
Airflow is the variable most beginners get wrong. You want gentle, directional airflow circulating around the buds — never a fan pointed directly at them, which dries the outside while the core stays wet. Hang branches or place buds on mesh racks with space between them so air can move freely. Studies on plant material and microbial growth, including work indexed by Frontiers, reinforce why controlled humidity and air movement are essential to preventing contamination.
How do you know when drying is done? The classic test is the stem snap: when smaller stems snap cleanly rather than bending, the buds are ready to move into jars for curing. The exterior should feel dry to the touch while the inside retains a little moisture — that residual core moisture is exactly what the cure will redistribute and refine.
Curing the Harvest for Flavor and Potency
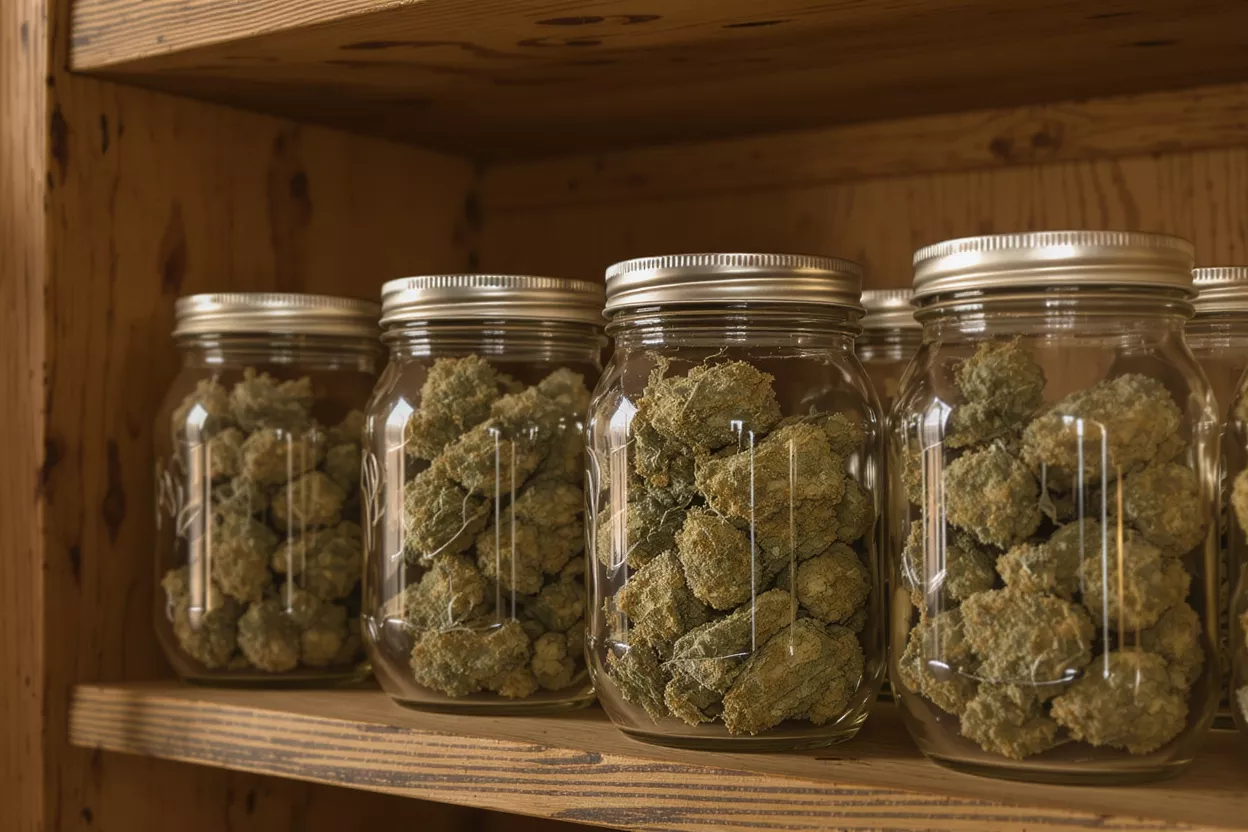
Curing is where good flower becomes great. After drying, buds go into airtight glass jars filled about three-quarters full. Over the following weeks, residual moisture migrates from the core to the surface, enzymes break down chlorophyll, and harsh compounds mellow out. The result is smoother smoke, deeper aroma, and a cleaner overall experience — the difference between rough product and something truly dank.
The cure requires a daily ritual early on. For the first week or two, open the jars once or twice a day to release built-up moisture and exchange air — a practice growers call "burping."
- 📅 Days 1–7: burp jars 2–3 times daily for several minutes each; watch for any ammonia smell that signals trapped moisture.
- 📦 Weeks 2–4: burp once a day, then taper to every few days as humidity stabilizes around 60–62%.
- 🏆 Week 4 and beyond: a minimum cure; many connoisseurs cure 8 weeks or more for peak smoothness and flavor.
Two-way humidity packs can stabilize jar conditions and take guesswork out of the process, especially for first-timers. While a four-week cure is a solid baseline, premium results often come from patience — strains that taste sharp at week two frequently bloom into rich, complex flavor by week eight.
Common Harvest Mistakes and How to Avoid Them
Harvesting too early is the most common error. Eager growers see darkening pistils and cut before trichomes have turned cloudy, sacrificing both potency and yield. Bud weight increases significantly in the final two weeks of flowering, so impatience costs you on multiple fronts. Always confirm with trichomes before reaching for the scissors.
Drying too fast ruins otherwise excellent flower. High heat, low humidity, or a fan aimed directly at the buds will dry the exterior in a day or two while trapping moisture and chlorophyll inside. The payoff is grassy, harsh smoke that even a long cure struggles to redeem. Patience during the dry is non-negotiable.
Other frequent slip-ups include skipping the cure entirely, over-handling sticky buds and knocking off trichomes (those crystalline resin glands are basically pre-diamonds for concentrate makers), and storing flower in containers that let in light and air. A few additional pitfalls worth avoiding:
- 💡 Light exposure during storage: UV degrades cannabinoids fast — keep jars in a dark cabinet.
- 🌡️ Wild temperature swings: heat accelerates terpene loss; aim for a cool, stable spot.
- 🤏 Crowding the drying space: packed buds trap humidity and invite mold.
Harvest Yield Expectations by Grow Style
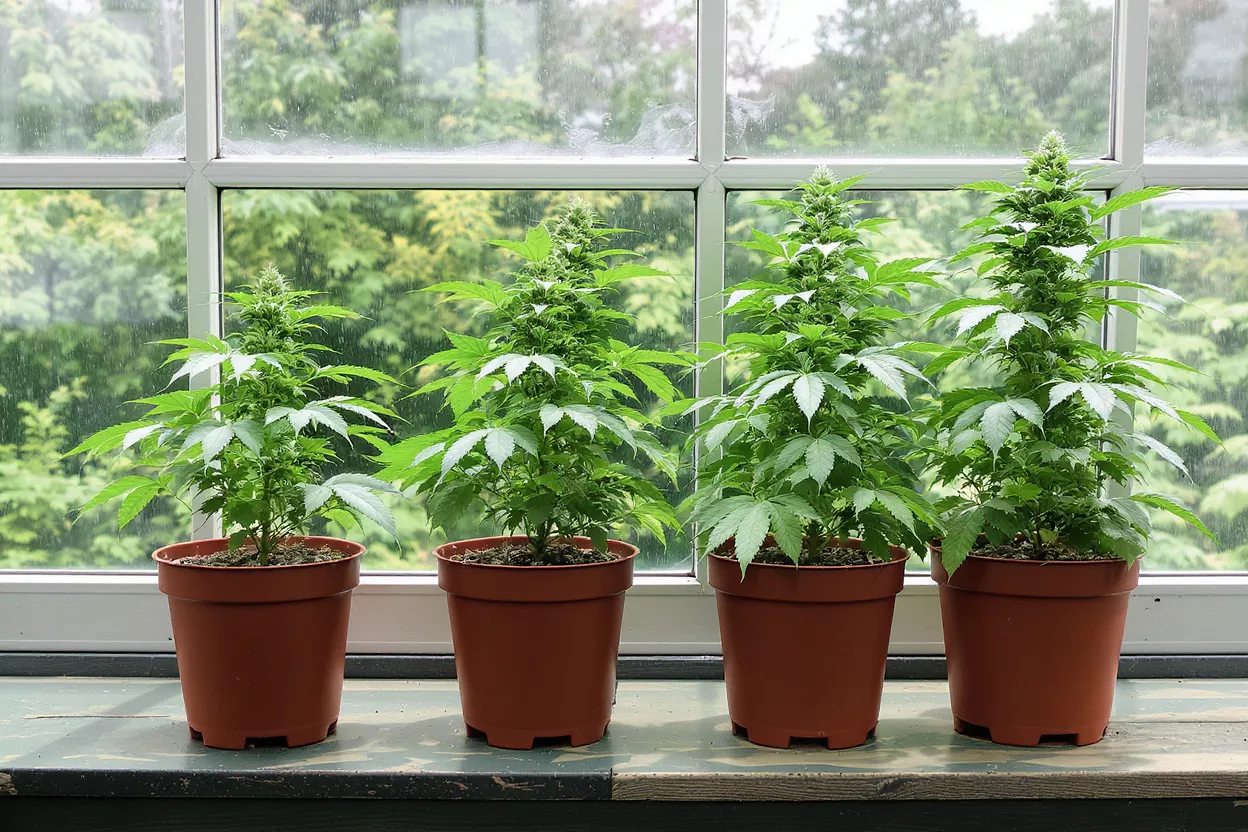
Yield is one of the first questions new growers ask, and the honest answer is: it depends heavily on your setup, genetics, and skill. Indoor yields are typically measured in grams per watt of light or grams per square meter, while outdoor plants are often discussed in ounces or pounds per plant. Setting realistic expectations keeps you from feeling discouraged when your first harvest does not match the hype on a seed bank's website.
Several variables move the needle more than any single product or trick. Light intensity and spectrum, pot size and root health, training techniques, and the length of the vegetative stage all compound into final weight. A grower who tops, trains, and dials in lighting will routinely outproduce someone running the same genetics under weaker conditions. A solid full-spectrum LED grow light is one of the highest-impact upgrades for indoor yield and quality alike.
Remember that bigger is not always better when it comes to the flower itself. Pushing for maximum weight sometimes sacrifices density, trichome coverage, and flavor. The most satisfying harvests balance respectable yield with high quality — buds that are dense, fragrant, and worthy of a careful cure rather than just heavy on the scale.
Storing Your Cannabis Harvest Long Term
Proper storage preserves the work you put into harvest. Once cured, cannabis is best kept in airtight glass containers in a cool, dark place. The three main enemies of stored flower are light, heat, and oxygen — each one accelerates the breakdown of cannabinoids and terpenes, dulling both potency and flavor over time. Get storage right and well-cured flower can stay excellent for a year or more.
For larger harvests, consider dividing your stash into long-term and short-term containers. Open your everyday jar frequently while leaving the bulk sealed and undisturbed, which limits how often the main supply is exposed to air. Two-way humidity packs help hold the sweet spot around 58 to 62 percent relative humidity, keeping buds from drying out into harsh, crumbly material or sitting damp enough to mold.
From the first trichome check to the final sealed jar, a careful cannabis harvest is a chain of decisions where each link supports the next. Time the cut by reading the plant rather than the calendar, dry slowly with gentle airflow, cure with patience, and store thoughtfully. Do those four things well and you transform a healthy grow into a finished product that rivals anything on a dispensary shelf — dense, aromatic, smooth, and genuinely dank from the first session to the last.