

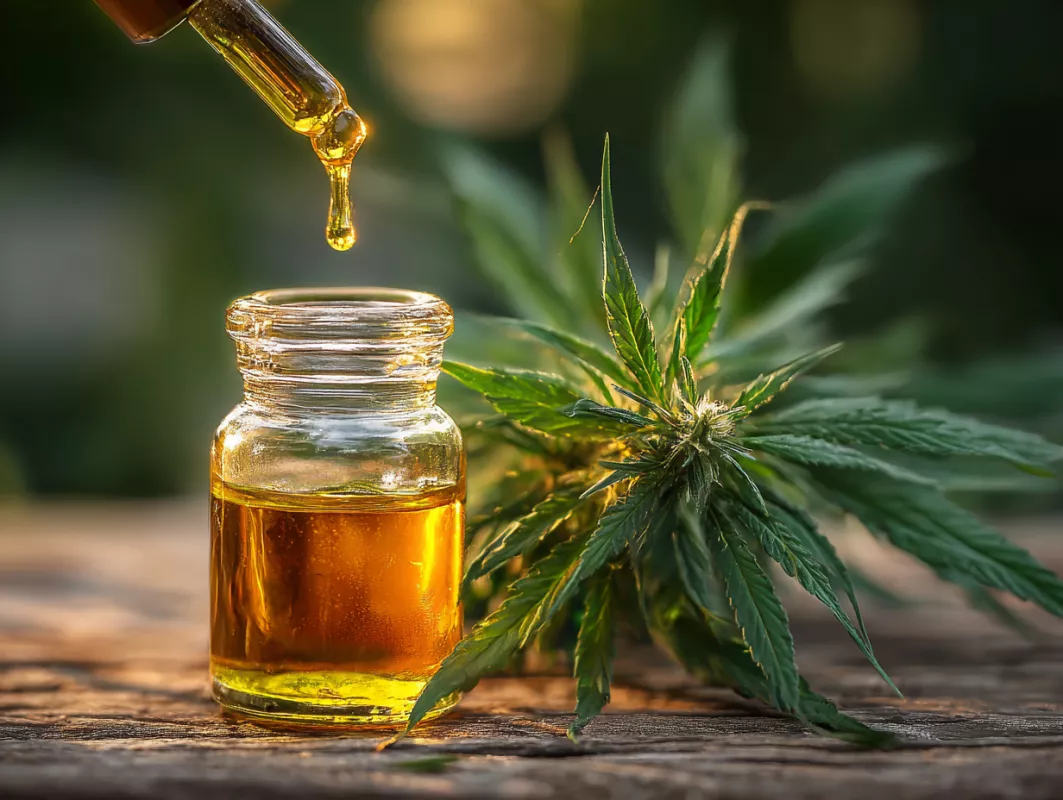
Cannabis Oil for Edibles Recipe: How to Make Weed Cooking Oil
Master a cannabis oil for edibles recipe with our step-by-step guide.
Learning a reliable cannabis oil for edibles recipe is the single most useful skill in any home cook's cannabis kitchen. Once you can make weed cooking oil that is potent, consistent, and clean-tasting, the door opens to brownies, salad dressings, sautéed vegetables, and just about anything else you would normally cook with fat. The process is not complicated, but the details matter — temperature, time, and the type of oil you choose all shape the final result. This guide walks through every stage, from raw flower to a finished infusion you can measure and trust.
Unlike a quick wake and bake joint or a one-off batch of cookies, infused oil is an ingredient you build a whole repertoire around. A well-made jar gives you control over dosing, flavor, and shelf life. By the end of this guide you will understand not just the how but the why behind each step, so you can adapt the method to your own kitchen, your own tolerance, and your own favorite dishes.
Whether you are a complete beginner or someone who has already burned a batch or two, the fundamentals here will keep your results predictable. Cannabis cooking rewards patience over guesswork, and a few simple habits separate a smooth, well-balanced oil from a harsh, wasteful one.
What Is Cannabis Oil for Edibles?
Cannabis oil for edibles is simply a cooking fat — olive, coconut, avocado, or similar — that has been infused with the active compounds from cannabis flower. Because cannabinoids like THC and CBD are fat-soluble rather than water-soluble, oil makes an ideal carrier. When you gently heat ground flower in fat, those compounds migrate out of the plant material and dissolve into the oil, where they stay stable and ready to cook with.
How infused oil differs from tinctures: A tincture relies on alcohol extraction to pull cannabinoids into a high-proof spirit, producing a fast-acting liquid you dose under the tongue. Infused oil, by contrast, is built for cooking and digestion. It works more slowly because the cannabinoids pass through your liver, but it integrates seamlessly into recipes where alcohol would not. For most home bakers and cooks, oil is the more versatile foundation.
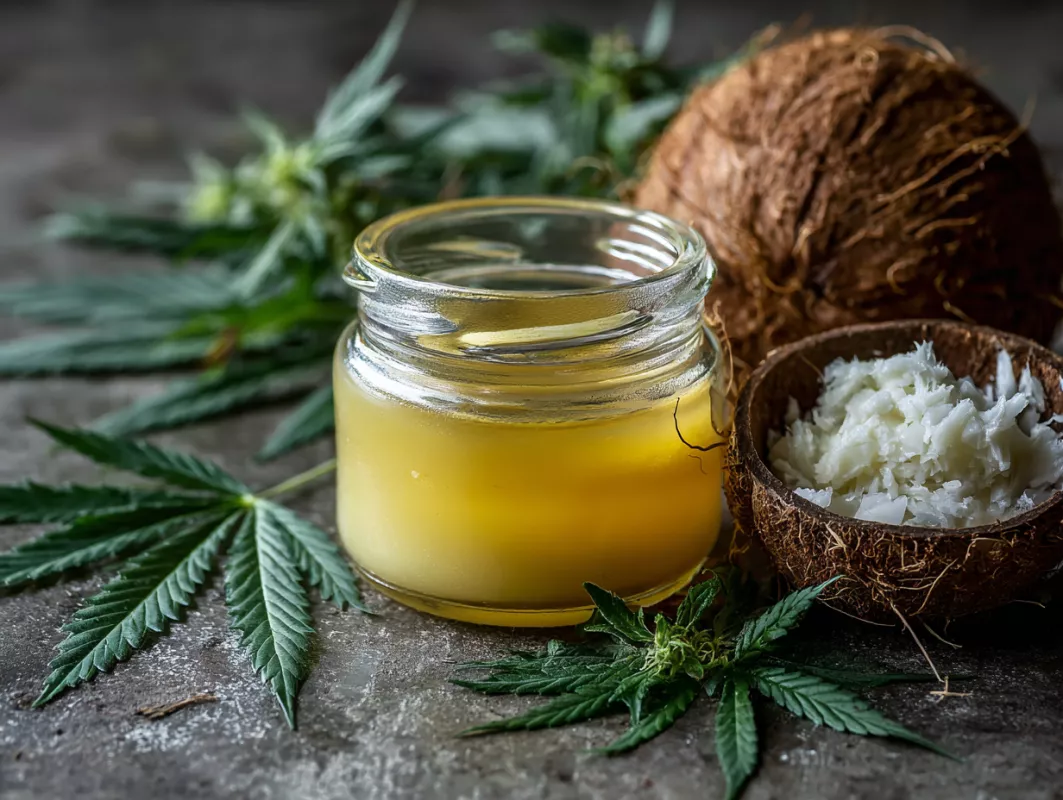
Why fat matters so much: The richer the fat, the more efficiently it binds cannabinoids. Coconut oil is prized for its high saturated-fat content, which can carry a heavier cannabinoid load, while olive oil offers flavor and heart-healthy profile at the cost of a slightly lower ceiling. Choosing the right base is the first real decision in any cannabis oil for edibles recipe, and it shapes both potency and taste.
Why Decarboxylation Comes First
Decarboxylation — "decarbing" for short — is the non-negotiable first step that beginners most often skip. Raw cannabis is full of THCA and CBDA, the acidic precursors to THC and CBD. These compounds do very little when eaten in their raw form. Heat converts them into the active cannabinoids your body responds to, and that conversion has to happen before or during infusion or your oil will be disappointingly weak.
The science of the conversion: Applying controlled heat removes a carboxyl group from the cannabinoid molecule, releasing carbon dioxide and "activating" it. Research summarized by sources like Healthline explains that this transformation is why edibles made from properly decarbed flower feel dramatically different from those made with raw plant material. Skip it, and you waste good flower.
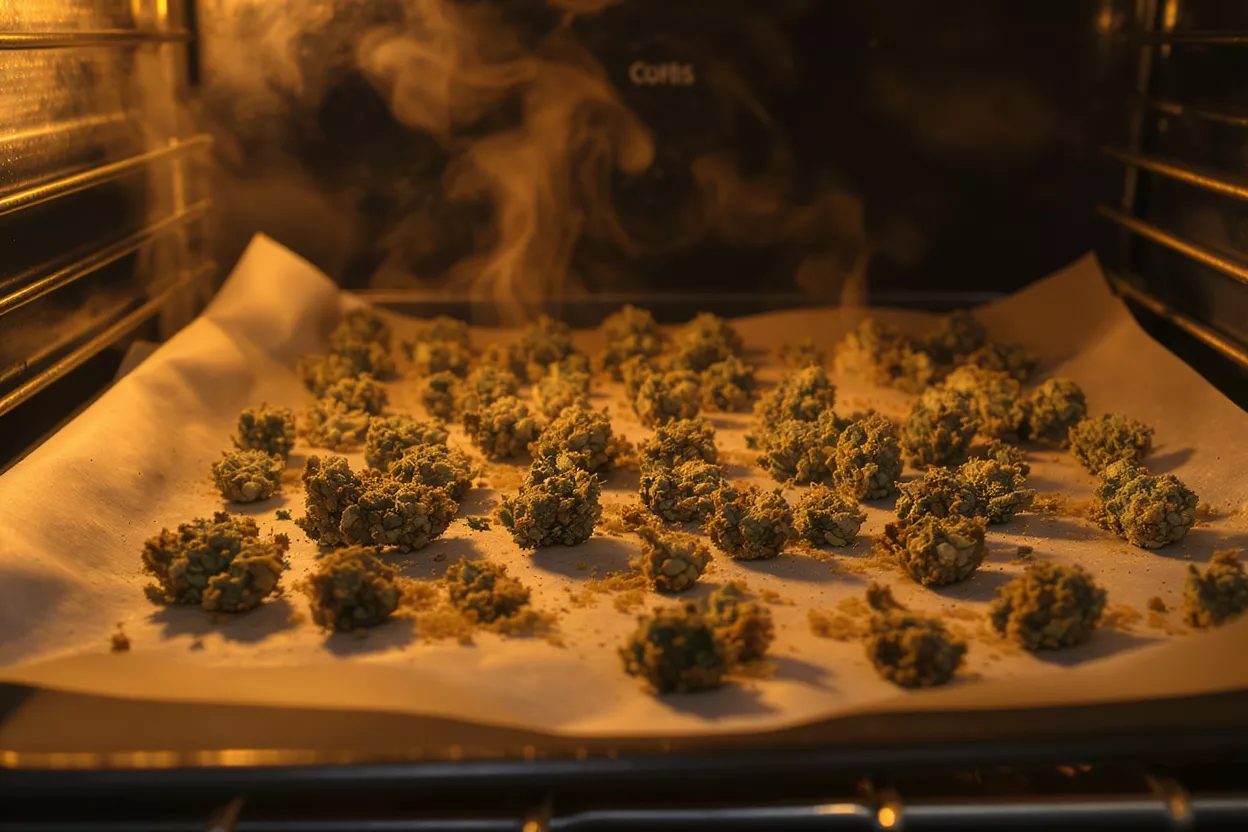
The standard method is to spread coarsely ground flower on a parchment-lined baking sheet and bake it low and slow — typically around 240°F for 30 to 45 minutes. You want the flower to turn a toasty golden-brown without scorching. Some people invest in a dedicated decarb device, but an accurate oven thermometer and a watchful eye work just as well for a wake and bake kitchen.
Choosing the Best Oil for Your Recipe
Not every oil behaves the same way in the pan or in the body. The fat you pick determines how much cannabinoid content your infusion can hold, how it tastes, and which dishes it suits. Matching the oil to the recipe is what separates a thoughtful cook from someone just following steps.
For high-fat infusions that need a neutral profile, coconut oil is the workhorse. For Mediterranean cooking and dressings, olive oil shines. If you want something that handles higher cooking temperatures, refined avocado oil is worth keeping on hand. A quality cold-pressed infusion oil can make a noticeable difference in both flavor and clarity.
- 🥥 Coconut oil: Highest saturated-fat content, excellent cannabinoid binding, ideal for baking and capsules.
- 🫒 Olive oil: Rich flavor and a healthy profile, perfect for dressings and low-heat sautéing.
- 🥑 Avocado oil: High smoke point, mild taste, best for higher-temperature cooking.
- 🧈 Butter: Technically a fat, not an oil, but the same infusion logic applies for baking.
Think about where the oil will end up before you start. An oil destined for raw drizzling can afford bold flavor, while one bound for delicate baked goods benefits from a neutral base that won't fight the recipe. This single decision quietly governs the success of everything you cook afterward.
Cannabis Oil for Edibles Recipe Step by Step
Here is the core method, distilled into a repeatable sequence. The classic ratio is roughly one cup of oil to one cup (about 7 to 10 grams) of decarbed flower, but you can scale this up or down to match your tolerance and intended use. Keep the heat low throughout — gentle warmth extracts cannabinoids without destroying them.
- 🌿 Decarb first: Bake ground flower at 240°F for 30 to 45 minutes until golden.
- 🔥 Combine: Add decarbed flower and oil to a double boiler or slow cooker.
- ⏳ Infuse low: Hold the mixture at 160–200°F for 2 to 3 hours, stirring occasionally.
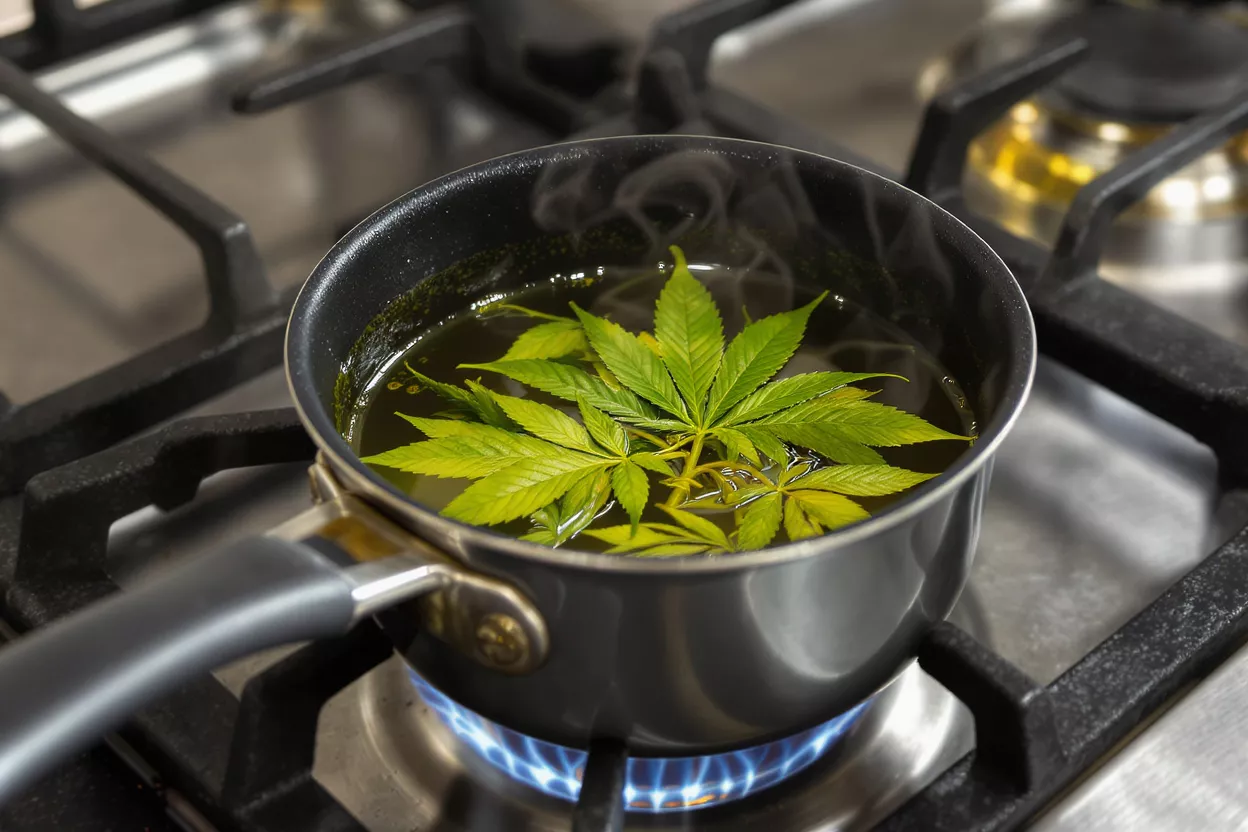
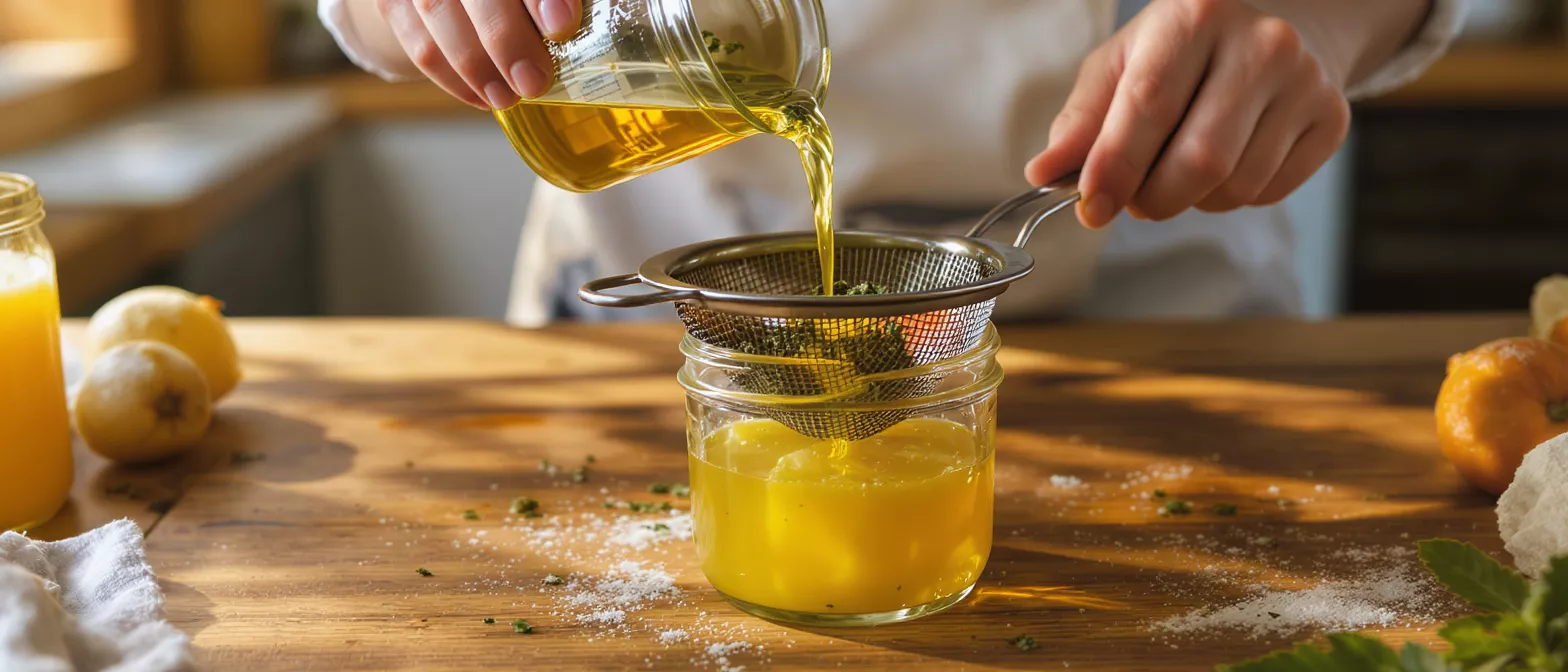
- 💧 Strain: Pour through cheesecloth into a clean jar, squeezing gently.
- 🫙 Store: Seal and refrigerate, labeling with the date and estimated potency.
Why low and slow wins: Cannabinoids and the aromatic terpenes that shape flavor — compounds like valencene that lend a citrusy lift — are sensitive to high heat. Cooking gently preserves them and prevents the harsh, burnt taste that comes from rushing. A double boiler gives you the most control, while a slow cooker on its lowest setting is the most forgiving for beginners.
Once you have run through this cycle a couple of times it becomes second nature, almost like a morning wake and bake ritual. The measurements stop feeling fussy and start feeling like cooking, which is exactly the comfort level you want before you start experimenting with stronger batches.
How to Infuse Weed Cooking Oil Properly
Infusion is where patience pays off. The goal is to give the cannabinoids enough time and gentle heat to fully migrate into the fat without ever pushing the temperature high enough to degrade them. Most failed batches come from either too much heat or too little time, and both are easy to avoid once you know what to watch for.
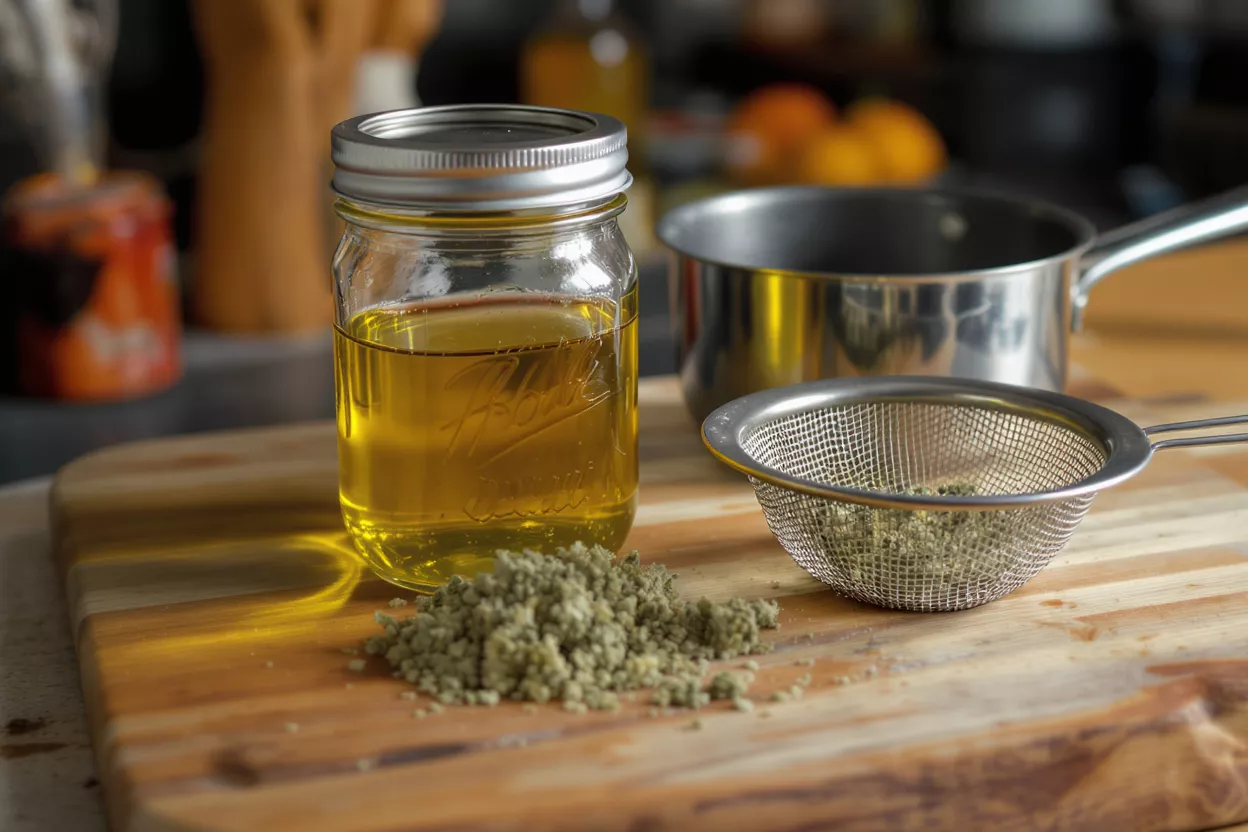
Choosing your infusion vessel: A double boiler keeps the oil insulated from direct flame, making it the gold standard for control. A slow cooker is the most hands-off option and excellent for large batches. Some cooks use a mason jar submerged in a simmering water bath, which limits oxygen exposure and reduces the grassy smell that can fill a kitchen. Each method works; the difference is convenience versus precision.
Reading the signs of a good infusion: A properly infused oil takes on a deep green or golden hue and carries a noticeable but not acrid aroma. Stir occasionally to keep the plant material suspended and evenly extracted. If you see bubbling beyond a faint shimmer, your heat is too high — pull it back. Quality flower and clean technique reward you with a smooth, potent base. Keeping a small kitchen thermometer set nearby removes nearly all the guesswork.
Straining and Storing Your Cannabis Oil
Once infusion is complete, straining separates the spent plant matter from your finished oil. Line a fine-mesh sieve with cheesecloth, set it over a clean jar, and pour slowly. Resist the urge to wring the cloth aggressively — over-squeezing forces chlorophyll and fine particulate into the oil, which adds bitterness and a stronger grassy taste. A gentle press is plenty.
Proper storage protects your investment. Light, heat, and air are the enemies of cannabinoid stability, so an airtight glass container kept in a cool, dark place is essential. Refrigeration extends shelf life considerably, and many cooks keep their oil in the fridge for up to two months without meaningful loss of potency. Always label the jar with the date and a rough potency estimate.
- 🫙 Container: Use airtight glass, never reactive metal or thin plastic.
- ❄️ Temperature: Refrigerate to slow oxidation and extend shelf life.
- 🌑 Light: Store in a dark cupboard or opaque jar to protect cannabinoids.
- 🏷️ Label: Note the date, oil type, and estimated dose per teaspoon.
How to Dose Homemade Cannabis Oil
Dosing homemade oil is part math, part patience. Because you rarely know the exact cannabinoid percentage of your starting flower, every batch is an estimate until you test it on yourself carefully. The cardinal rule of edibles applies tenfold here: start low and go slow. Effects can take 30 to 90 minutes to appear, and impatience is the most common path to an uncomfortable experience.
Estimating potency at home: Suppose your flower tests at roughly 15% THC. One gram contains about 150 milligrams of THC. Multiply by your total grams, assume a realistic extraction efficiency of around 60–70%, then divide by the number of teaspoons your finished oil yields. This gives you a ballpark milligram figure per teaspoon — imperfect, but far better than guessing blind.
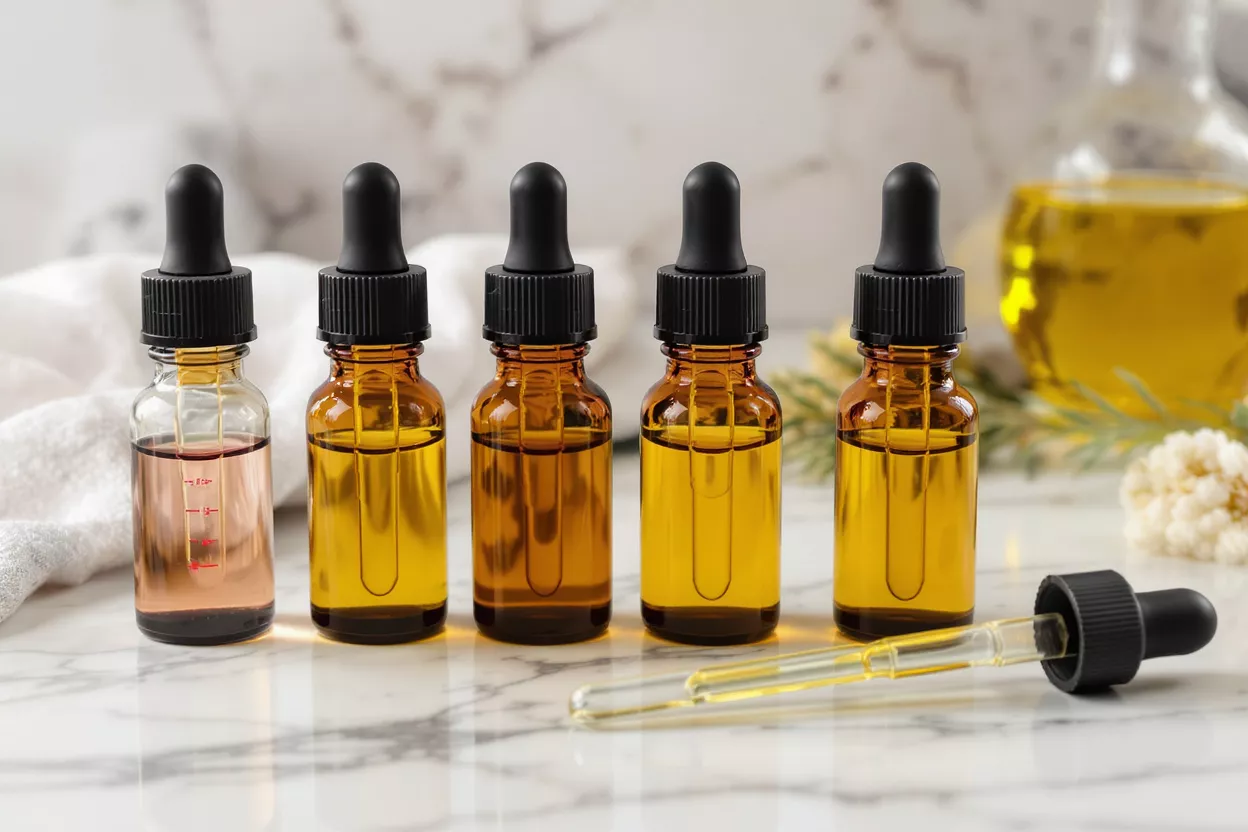
Building your tolerance map: Begin with a small measured amount — many people start at 2.5 to 5 milligrams — and wait a full two hours before considering more. Keep notes on dose and effect so you can dial in your personal sweet spot. A simple low-dose dosing dropper makes consistent measurement effortless. This deliberate approach keeps cannabis cooking enjoyable rather than overwhelming.
Best Recipes to Use Weed Cooking Oil
Once you have a jar of well-made oil, the culinary possibilities are wide open. The key is to use the oil in dishes where fat is already a featured ingredient, so the infusion blends in without altering texture. Substitute your cannabis oil for a portion of the regular oil or butter a recipe calls for, keeping the heat moderate to protect the cannabinoids.
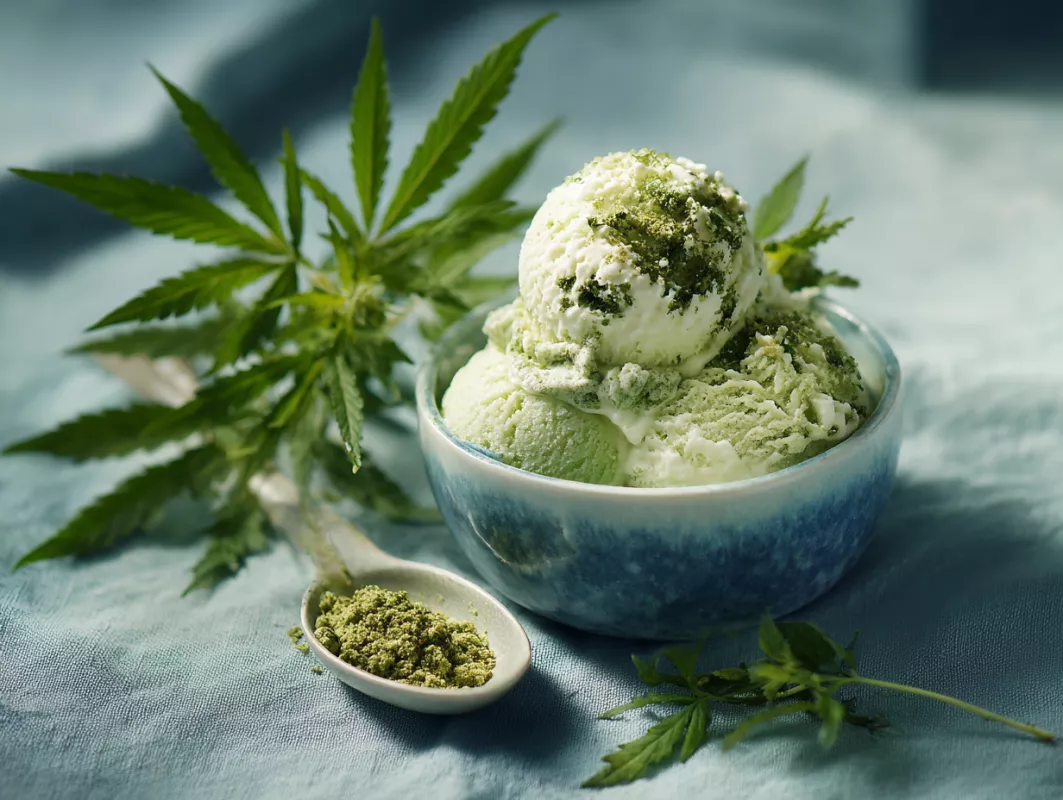
Baked goods are the classic destination — brownies, cookies, and quick breads all carry infused oil beautifully. But savory applications are underrated. A drizzle over roasted vegetables, a base for salad dressing, or a finishing swirl on pasta all deliver effects while keeping the meal balanced and adult-friendly.
- 🍫 Brownies and cookies: Replace part of the butter or oil with your infusion for classic edibles.
- 🥗 Salad dressings: Whisk infused olive oil with vinegar and herbs for a no-cook option.
- 🍝 Pasta and sauces: Finish dishes off the heat to preserve potency and flavor.
- 🥔 Roasted vegetables: Toss before roasting at moderate temperatures.
Whatever you cook, keep total servings in mind and divide the dish evenly so each portion carries a predictable dose. Mixing infused oil with plain oil in larger recipes is a smart way to control strength while still getting full flavor coverage across the plate.
Common Mistakes When Making Cannabis Oil
Even experienced cooks stumble, and most mistakes trace back to a handful of avoidable errors. Recognizing them in advance saves you flower, time, and the frustration of a weak or harsh batch. The biggest culprit, by far, is heat — too much of it at any stage undermines the entire process.
Skipping or rushing decarb: Without proper decarboxylation, your oil simply won't deliver. Equally common is cranking the oven too high to speed things up, which burns off cannabinoids before they ever reach the oil. Patience at this stage is the foundation everything else rests on.
Overheating during infusion: Boiling the oil degrades both cannabinoids and terpenes, leaving a bitter, less potent result. Keep your infusion in the gentle 160–200°F window. Another frequent error is over-straining — wringing every drop from the cheesecloth drags chlorophyll into the oil and muddies the flavor. A light touch is always better.
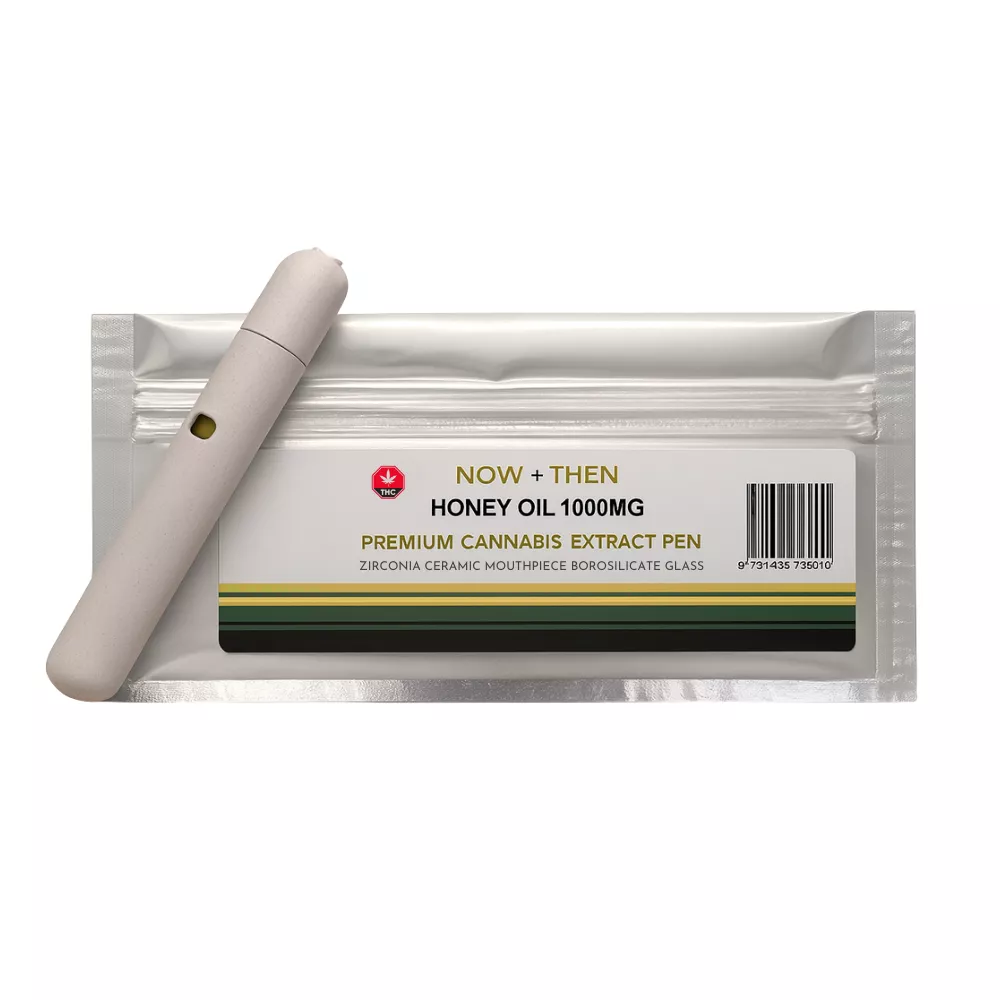

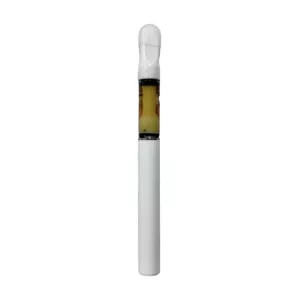
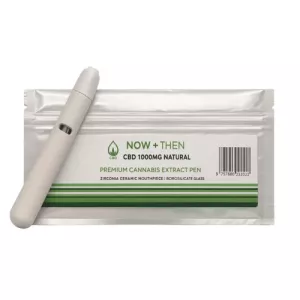
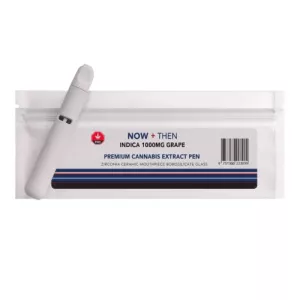
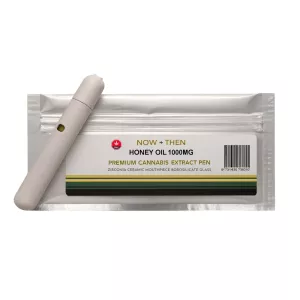
Honey Oil THC Vape Pen 1g – NOW+THEN
Legendary smoothness, modern format. NOW+THEN's Honey Oil pen seals a full gram of premium golden extract in a sleek disposable — draw and enjoy rich, naturally sweet vapour with zero fuss. Mellow, flavourful, and effortless. Honey oil tradition, reimagined for your pocket.
- Throat-Friendly Formula : Remarkably gentle inhalation despite high potency levels
- Harmonious Effects : Expertly balanced cerebral and physical sensations
- Rapid Onset : Experience effects within minutes of inhalation
- Zero Upkeep : Complete disposable system requires no maintenance
- Reliable Performance : Uniform vapor quality throughout entire capacity
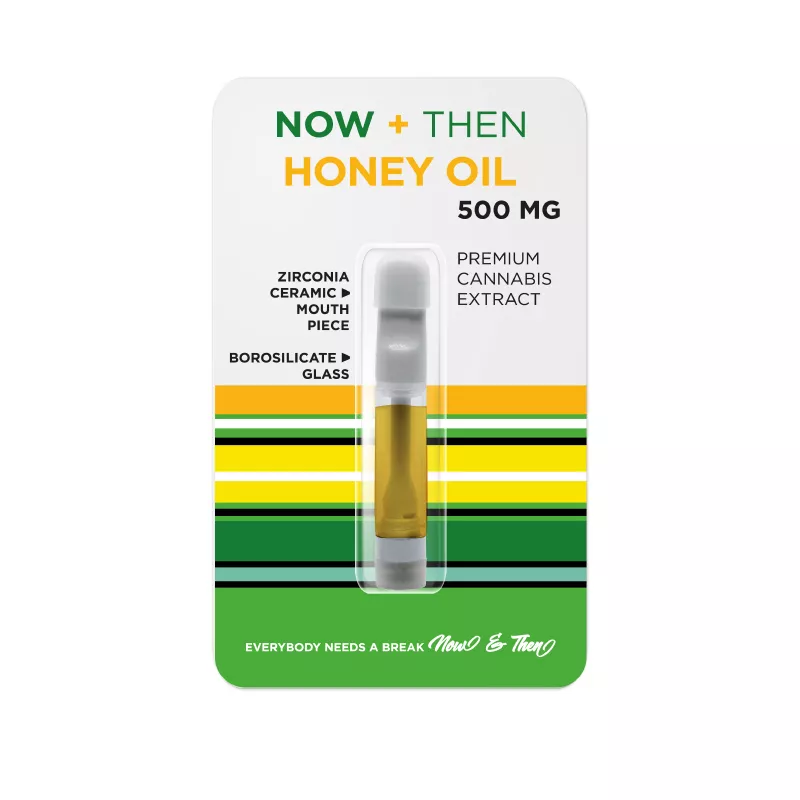
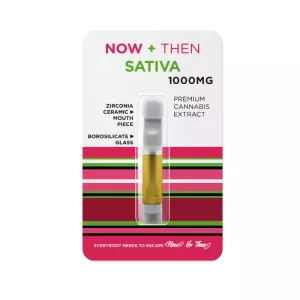
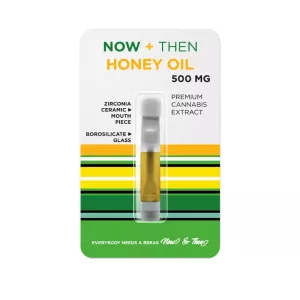
Honey Oil Cartridge 500mg – NOW+THEN
Classic tradition, modern convenience. NOW+THEN's 500mg Honey Oil cartridge delivers naturally sweet, golden extract with smooth, flavourful vapour — old-school flavour in a tidy 510 cart. Mellow and full-bodied, it's the connoisseur's everyday choice. Honey oil the easy way, half a gram at a time.
- Gentle Hits : Smooth despite high potency
- Quick Relief : Immediate onset via vapor
- Balanced Effects : Both cerebral and physical
- Natural Sweetness : Authentic honey oil flavor
- Trial Size : Perfect for first-timers
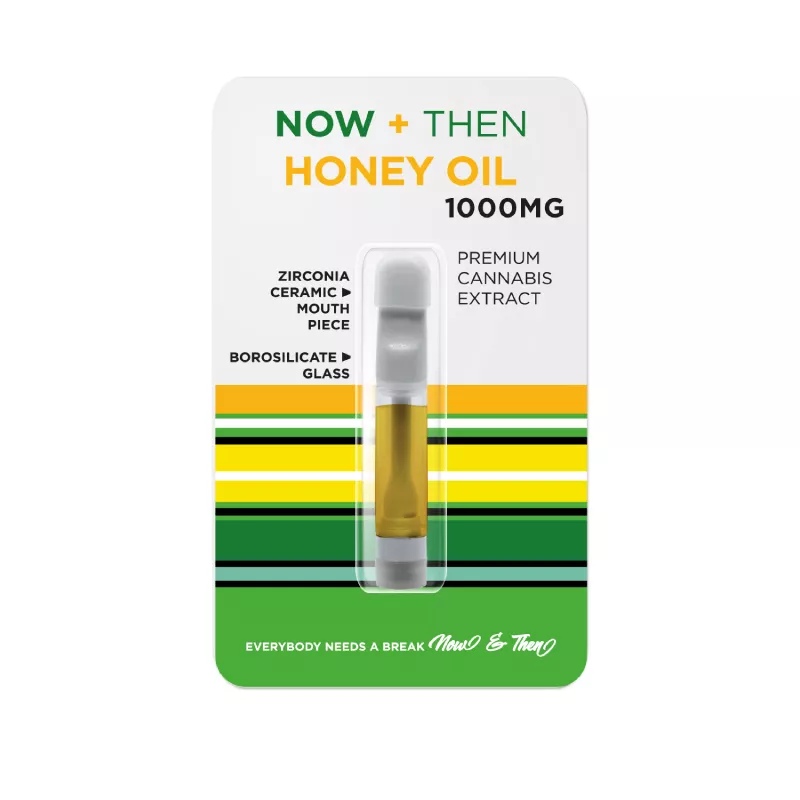
Honey Oil Cartridge 1g – NOW+THEN
Liquid gold in modern convenience. NOW+THEN's 1g Honey Oil cartridge delivers a full gram of pure golden extract with smooth, naturally sweet draws — old-school flavour, full-gram value. Mellow and full-bodied, it's the connoisseur's everyday cart. Honey oil tradition, doubled up and ready to go.
- Smooth Experience : Gentle on throat despite potency
- Balanced High : Equal head and body effects
- Natural Flavor : Sweet, authentic cannabis taste
- Quick Onset : Effects within minutes
- Long-Lasting : 1g provides extended use
Is Homemade Cannabis Oil Safe?
Made carefully, homemade cannabis oil is as safe as any home cooking project, but a few precautions keep it that way. The two real risks are accidental over-consumption and cross-contamination in shared kitchens, both of which are entirely manageable with simple habits. Clear labeling and secure storage solve the vast majority of safety concerns.
Keeping it away from others: Infused oil looks identical to ordinary cooking oil, so label every jar boldly and store it well out of reach of children, pets, and unsuspecting guests. Treat it with the same caution you would any potent ingredient. A dedicated, clearly marked container in the back of the fridge is the simplest safeguard.
The other half of safety is dosing discipline. Because effects are delayed, the temptation to "take more" before the first dose lands is the leading cause of unpleasant experiences. Respect the timeline, keep notes, and your homemade oil becomes a dependable, enjoyable part of your cooking. With clean technique and a little patience, a single jar can elevate everything from your morning routine to a weekend dinner party — turning a basic cannabis oil for edibles recipe into a genuine kitchen staple you reach for again and again.


Comments