Flowering stage
Explore the flowering stage week by week: lighting, nutrients, humidity, and harvest timing.
What Is the Flowering Stage in Cannabis
The flowering stage is the period in a cannabis plant's life when it stops focusing on leafy, structural growth and starts producing the resin-coated buds prized for their cannabinoids and aroma. After weeks of vegetative development, the plant shifts its energy toward reproduction, swelling out the dense, trichome-frosted flowers that growers ultimately harvest. For anyone learning to cultivate, understanding the flowering stage is the difference between a mediocre yield and genuinely premium indoor flower worth the wait.
Why the flowering stage matters so much: nearly everything that determines potency, flavor, and weight happens during this window. The vegetative phase builds the frame, but flowering fills it in. Mistakes made here — light leaks, nutrient burn, humidity spikes — show up directly in the final product. Get it right and the payoff is dense, dank flower that smells loud and smokes clean.
Cannabis is what botanists call a short-day plant, meaning it begins to flower when nights grow long, mimicking the natural arrival of late summer and autumn. Indoor growers replicate this with controlled lighting, while outdoor growers rely on the shifting seasons. The plant's hormonal response to darkness is well documented in plant physiology research, and resources like Verywell Health note that photoperiod responses are among the most studied mechanisms in botany.
How the Flowering Stage Works Week by Week
The flowering stage unfolds in fairly predictable phases, and knowing what to expect each week helps growers respond rather than react. The first two weeks are often called the "stretch," when the plant can nearly double in height as it prepares its frame for bud sites. After the stretch settles, the plant pours its resources into flower formation, and by the final weeks the buds fatten, ripen, and load up with trichomes.
The flowering stretch explained: during weeks one through three, vertical growth dominates. This is the moment to manage canopy height, tuck leaves, and ensure light reaches every bud site evenly. Many growers underestimate how aggressive the stretch can be, and a plant that was knee-high in veg can suddenly crowd the lights.
Here is a simplified timeline most photoperiod strains follow:
- 🌱 Weeks 1–3: Stretch and transition — rapid height gain and the first pistils appear.
- 🌸 Weeks 4–5: Bud formation — flower sites bulk up and aroma intensifies.
- 💧 Weeks 6–7: Fattening — buds swell, trichomes multiply, resin production peaks.
- 🍂 Weeks 8+: Ripening — pistils darken, trichomes cloud, and harvest approaches.
Tracking your grow against a timeline like this makes it far easier to spot when something is lagging or racing ahead. Strain genetics shift these numbers, but the sequence stays remarkably consistent across most varieties, whether you are growing a fruity hybrid or a pungent Diesel cut.
What Triggers the Flowering Stage
The single biggest trigger for the flowering stage is a change in the light cycle. For photoperiod cannabis, switching to roughly twelve hours of uninterrupted darkness signals that the season is changing and it is time to reproduce. Indoors, growers simply set their timers to a 12/12 schedule. Outdoors, the plant reads the lengthening nights of late summer on its own.
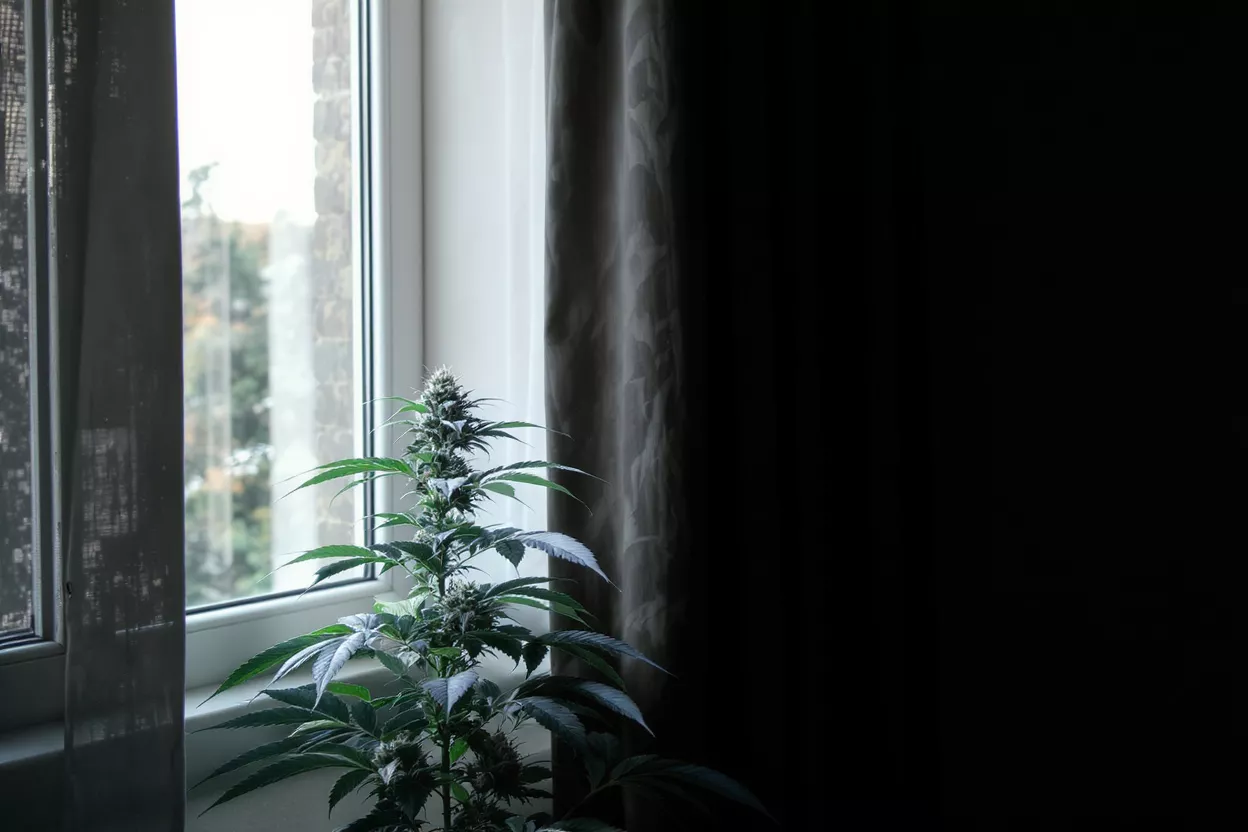
Photoperiod versus autoflowering: not all cannabis waits for a light cue. Autoflowering genetics, which carry ruderalis heritage, begin flowering based on age rather than light schedule, usually two to four weeks after sprouting. This makes them forgiving for beginners but less responsive to training. Photoperiod plants demand precise light control but reward it with larger plants and bigger yields.
Darkness must be genuinely uninterrupted for photoperiod plants. Even a small light leak — a glowing power strip, a streetlight, a cracked tent zipper — can confuse the plant and trigger stress responses like re-vegging or hermaphroditism. According to plant-stress literature summarized by Verywell Health, disrupted dark cycles are a leading cause of unexpected growth abnormalities. Sealing your space with quality light-proofing gear pays for itself in a single harvest.
Early Signs the Flowering Stage Has Begun
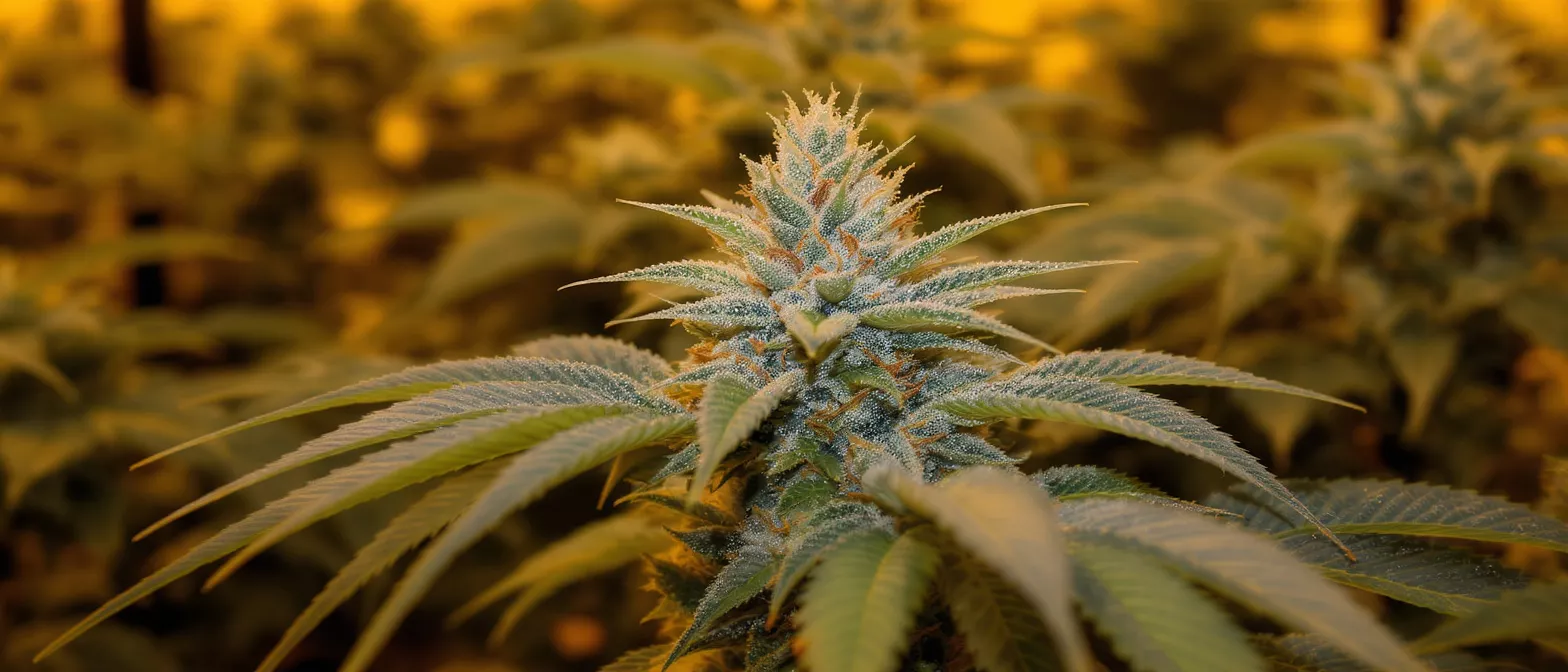
The first visible confirmation that the flowering stage has started is the appearance of pistils — tiny white hairs that emerge at the nodes where branches meet the stem. These delicate threads are the plant's female reproductive structures, and their arrival means the transition is officially underway. Spotting them early helps you confirm your light flip worked and your plant is female.
What healthy early flowering looks like: beyond pistils, you will notice the plant stretching, internodal spacing tightening near the tops, and a subtle shift in aroma as resin glands begin forming. The leaves often take on a slightly darker, glossier appearance as the plant redirects energy. This is also when you should finalize any training, because heavy manipulation later can stress flowering plants.
Keep an eye out for these early flowering indicators:
- 🔍 Pistils: white hairs at the nodes confirm female flowering has begun.
- 📏 Stretch: noticeable vertical growth as the plant builds its flowering frame.
- 👃 Aroma: the first whiffs of that dank, resinous smell developing.
- ✨ Trichomes: faint frostiness beginning to coat sugar leaves and calyxes.
If you instead see pollen sacs — small ball-like structures rather than hairs — you may have a male plant, which most growers remove to prevent pollination. A good set of jeweler's loupes or a quality handheld magnifier makes identifying these structures far easier in the early days.
Flowering Stage Light Schedule and Lighting
The classic flowering stage light schedule is 12 hours on and 12 hours off, and consistency is everything. Inconsistent timers, frequent interruptions, or fluctuating photoperiods can stress the plant and dent your yield. A reliable timer is one of the cheapest insurance policies in your entire grow.
Light intensity and spectrum during flowering: buds crave intense, red-shifted light to fuel resin and flower production. Modern full-spectrum LED fixtures excel here, delivering the photons plants need while running cooler than legacy HID lamps. Pushing intensity gradually as the canopy matures encourages denser flowers, though too much too fast causes light bleaching on the top colas.
Light distance matters as much as intensity. Keep fixtures far enough away to avoid bleaching the upper buds white, yet close enough that lower bud sites still receive usable light. Plant-science overviews published by Verywell Health emphasize that consistent light exposure drives the photosynthetic efficiency behind healthy flower development. Directional airflow beneath and through the canopy also helps every bud site bathe in fresh, CO2-rich air.
Best Nutrients During the Flowering Stage
Nutritional needs shift dramatically once flowering begins. The nitrogen-heavy diet that fueled vegetative growth gives way to a demand for phosphorus and potassium, the two elements most responsible for bud development and resin production. Switching to a dedicated bloom formula early in flowering keeps your plant fed for the work ahead.
Reading the NPK ratio for bloom: flowering nutrients typically carry a lower first number (nitrogen) and higher middle and last numbers (phosphorus and potassium). Something like a 5-10-10 or 3-12-12 profile is common. Overfeeding nitrogen during flowering produces leafy, airy buds and can delay ripening, so resist the urge to keep pushing growth fertilizers.
Key nutrients and supplements to consider during flowering:
- 🌼 Phosphorus: drives flower formation and root health throughout bloom.
- ⚡ Potassium: supports bud density, sugar transport, and overall plant vigor.
- 🦴 Calcium & magnesium: prevent deficiencies common in heavy-feeding flowering plants.
- 🍯 Carbohydrate boosters: feed beneficial microbes and can enhance terpene expression.
Always flush with plain water in the final one to two weeks to clear residual salts, which improves the smoothness of the finished flower. A quality bloom nutrient kit takes much of the guesswork out of this transition and helps avoid nutrient burn, one of the most common rookie mistakes.
Flowering Stage Temperature and Humidity
Temperature and humidity control becomes more critical during flowering than at any other point in the grow. As buds densify, they create pockets where moisture lingers, and that trapped humidity is exactly what bud rot and powdery mildew need to take hold. Dialing in your environment protects weeks of hard work from a single mold outbreak.
Ideal flowering temperature and humidity ranges: aim for daytime temperatures around 68–78°F and relative humidity that gradually drops from roughly 50% in early flower to 40% or lower as harvest nears. Slightly cooler nights late in flowering can even coax out purple hues and richer terpene profiles in certain genetics.
A modest temperature difference between day and night helps trigger desirable color and aroma changes, a phenomenon noted in horticultural guidance compiled by Verywell Health. Good airflow is your best defense — oscillating fans and proper exhaust prevent the stagnant, humid microclimates inside a dense canopy where rot begins. Strip a few large fan leaves blocking airflow if needed, a light defoliation that improves penetration without shocking the plant.
Common Flowering Stage Problems and Fixes
Even careful growers run into trouble during flowering, and recognizing problems quickly is the key to saving a harvest. The most feared issue is bud rot, a gray fungal mold that hollows out flowers from the inside, often invisible until you break a bud open. High humidity and dense, untrimmed canopies are its favorite conditions.
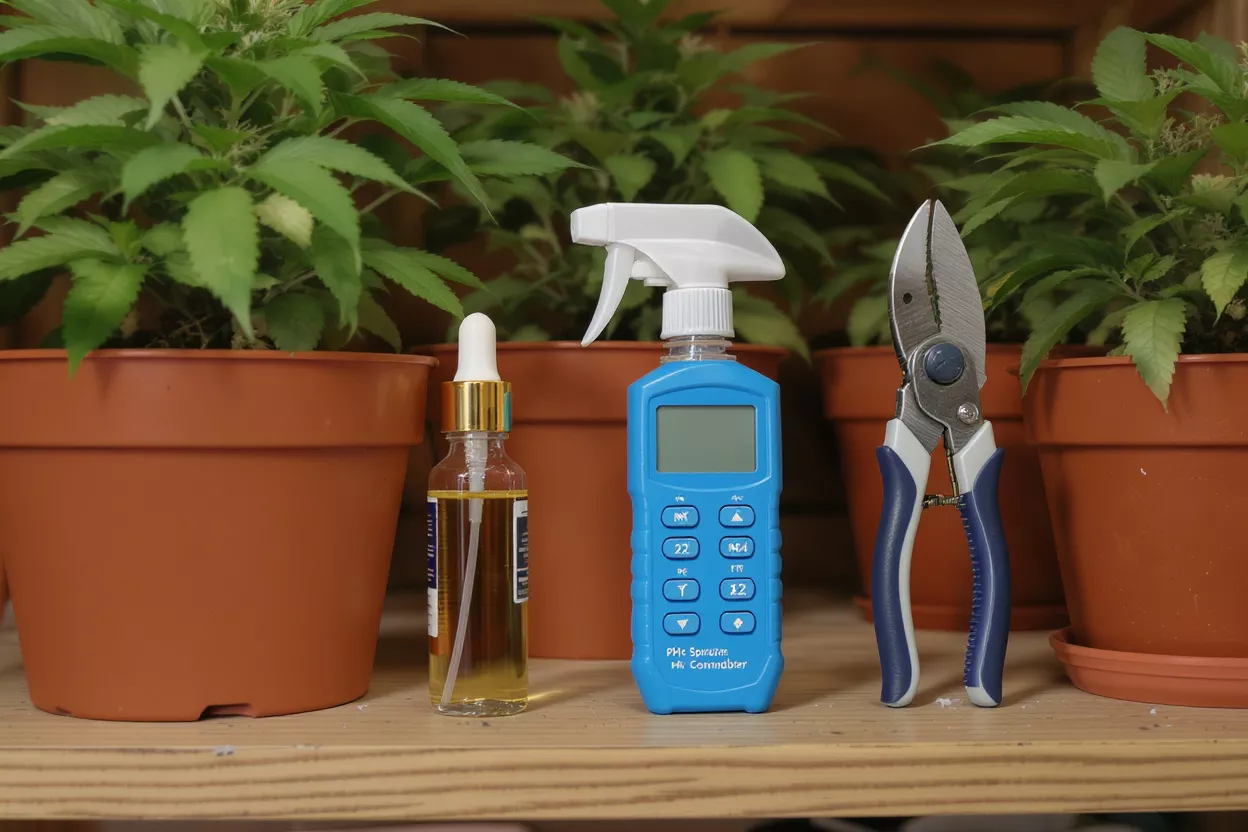
Nutrient burn and deficiencies: brown, crispy leaf tips usually signal overfeeding, while yellowing, spotting, or discoloration can point to a specific deficiency. Because flowering plants no longer build new foliage aggressively, damaged leaves do not recover, so catching imbalances early protects the rest of the plant. Flushing and adjusting your feed strength resolves most feeding issues.
Watch for these common flowering-stage troubles:
- 🦠 Bud rot: gray mold inside dense buds — improve airflow and lower humidity immediately.
- 🔥 Nutrient burn: brown leaf tips from overfeeding — dial back and flush.
- 🐛 Pests: spider mites and thrips thrive in warm tents — inspect undersides of leaves.
- ⚪ Light bleaching: white, washed-out top colas — raise your fixtures.
Hermaphroditism is another flowering risk, often triggered by stress or light leaks, where a female plant develops male pollen sacs and self-pollinates. Removing these sacs early and eliminating the stressor can salvage the grow, though prevention through a stable, sealed environment is always preferable.
How Long the Flowering Stage Lasts
Most cannabis strains spend roughly eight to ten weeks in the flowering stage, though this varies widely with genetics. Indica-leaning varieties tend to finish faster, often in eight to nine weeks, while many sativa-dominant strains and equatorial landraces can stretch past twelve weeks. Autoflowers compress the entire life cycle, going from seed to harvest in as little as ten to twelve weeks total.
Why finishing times vary: the genetic heritage of a strain sets its baseline, but environment fine-tunes it. Cooler temperatures, lower light intensity, or stress can extend flowering, while ideal conditions let a plant finish on schedule. Always treat a breeder's stated flowering time as an estimate rather than a guarantee, and let the plant's actual ripeness guide you.
Patience near the finish line pays real dividends. Harvesting even a week early can leave behind potency and weight, since trichomes are still maturing in those final days. Resist the temptation to chop early, and instead let the plant tell you when it is truly ready through the appearance of its resin glands and pistils.
Harvesting After the Flowering Stage
The end of the flowering stage culminates in harvest, and timing it correctly is the final skill that separates good flower from great flower. The most reliable method is examining trichomes under magnification: clear trichomes mean immature, cloudy or milky trichomes signal peak THC, and amber trichomes indicate a more sedative, couch-locking effect as THC degrades toward CBN.
Reading trichomes for harvest: most growers aim for a mix of mostly cloudy with a scattering of amber for balanced effects. Harvesting earlier, while trichomes are still clear-to-cloudy, yields a more energetic high, while waiting for heavier amber produces a deeply relaxing experience. Pistil color offers a rough guide too, but trichomes are the gold standard.
After cutting, the work is not over — proper drying and curing over the following weeks preserves terpenes, smooths the smoke, and unlocks the full aroma your buds developed during flowering. Slow drying in a cool, dark space followed by curing in sealed jars makes the difference between harsh, hay-smelling flower and a smooth, dank final product. Mastering the flowering stage and its harvest is what turns a hobby grow into something genuinely worth sharing.